

Welcome to our comprehensive guide on installing your fence with Postloc!
If you’re planning a DIY fence installation, you’ve come to the right place. In this guide, we’ll introduce you to Postloc, a revolutionary product that will make your fence installation easier, quicker, and more secure.
Why Choose Postloc for Your Fence Installation
Postloc is a closed-cell polyurethane foam that expands and hardens, locking your fence posts in place. It’s a lightweight, easy-to-use alternative to traditional concrete.

Here’s why you should consider Postloc for your fence installation:
- Ease of use: Just mix the two bottles, shake, pour, and watch it set.
- Lightweight: A one-post kit weighs just under 4lbs, saving your back from heavy lifting. This one kit will replace 2 50 lbs bags of concrete.
- Quick setting: The foam expands 15 times its original volume and sets in just 15 minutes. No waiting for concrete to cure before you move on to the next part of your project!
- Durable and secure: Postloc holds firm even in marshy and wet areas, making it ideal for all ground conditions.
Preparing for Your Fence Installation
Before you start installing your fence, you’ll need to prepare. Choose the right materials for your fence, determine the location and layout, and gather the necessary tools and safety equipment. Remember, safety first!
Step-by-Step Guide to Installing Your Fence with Postloc
Now, let’s get to the fun part – installing your fence with Postloc. Here’s a step-by-step guide:
- Dig the post holes: The depth and width of the holes will depend on the size of your fence posts. Our recommended size:
Depth: approx. 3 ft. deep
Width: approx. 2”–3” wider than each side of post, or total 4”–6” wider than diameter or width of post. (Example: a 4” post = 8”–10” hole diameter.) - Set the posts in the holes: Make sure they’re positioned correctly according to your fence layout.
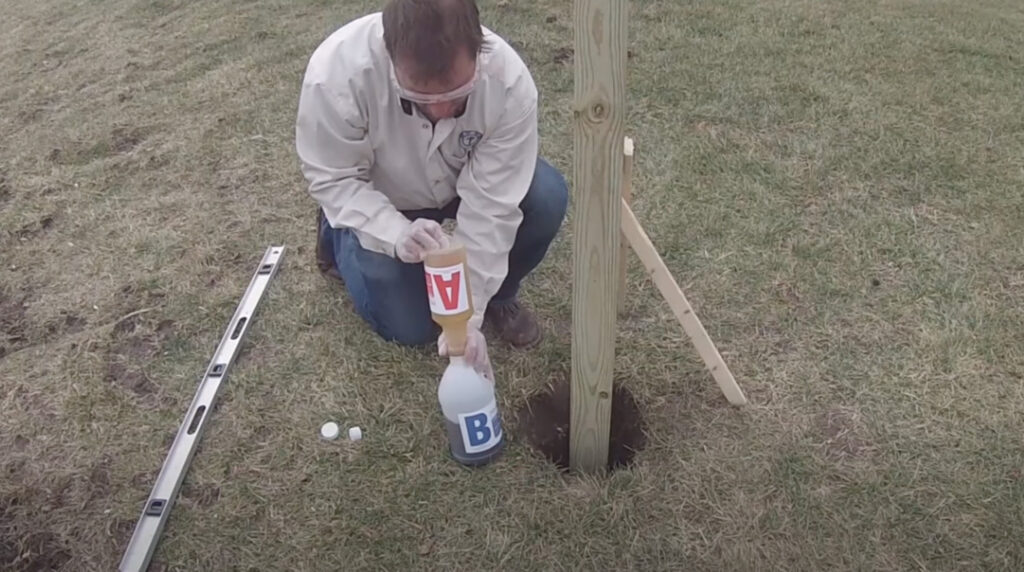
- Mix and prepare the Postloc foam: Pour the contents of the “A” bottle into the “B” bottle, put the cap on, and shake until thoroughly mixed – this usually takes around 30 to 40 seconds, but you’re looking for a consistent color to find the proper mixture. Unlike others, we use a clear bottle so you can see this process.
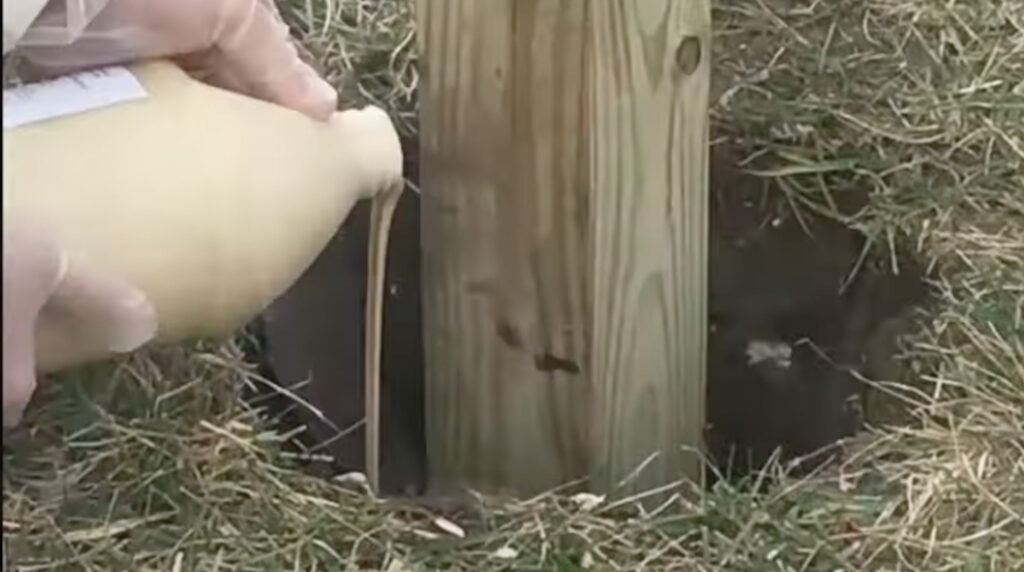
- Pour the Postloc foam into the post holes: Once it’s ready, pour the foam into the void around the post.
- Ensure the posts are plumb: As the Postloc foam hardens, make sure your posts are level. You can adjust them as needed while the foam is still expanding.
- Attach the fence panels to the posts: Once the Postloc has fully hardened, you can attach your fence panels to the posts.
Tips and Tricks for a Successful Fence Installation with Postloc
Here are some best practices for using Postloc:
- Always wear safety equipment, including gloves and safety glasses.
- Make sure to shake the Postloc mixture thoroughly before pouring.
- Check the level of your posts frequently as the Postloc foam hardens.
Avoid these common mistakes:
- Don’t rush the process. Allow the Postloc foam to fully harden before attaching your fence panels.
- Don’t pour the Postloc foam if the temperature is below 40°F (5°C). The foam may not set properly.
Post-Installation Care and Maintenance
Once your fence is installed, it’s important to care for it properly. Regularly check your fence posts for any signs of movement or damage. The good news is that Postloc is incredibly durable and should keep your fence posts secure for many years to come.
Installing a fence with Postloc is a straightforward process that offers many benefits. Not only is Postloc easy to use and lightweight, but it also provides a secure, durable hold for your fence posts. So why not give it a try for your next DIY project?
Ready to start your fence installation with Postloc?
Don’t forget to share your fence installation journey with us on social media – we’d love to see your results!